


Building A Honda Grom Roadracer

From funster to speed demon


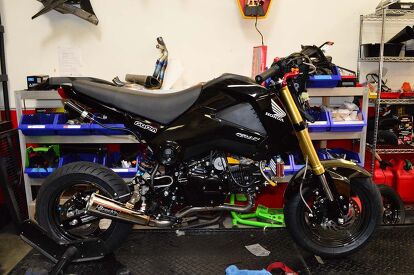
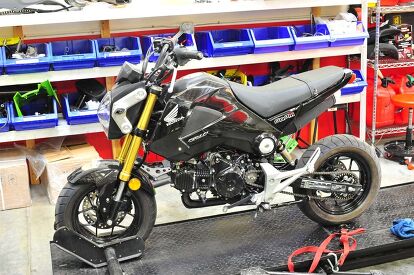


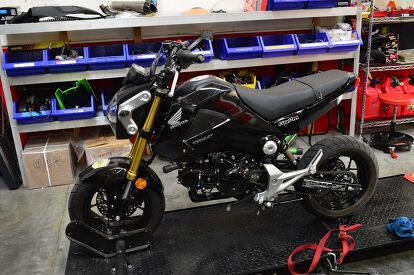


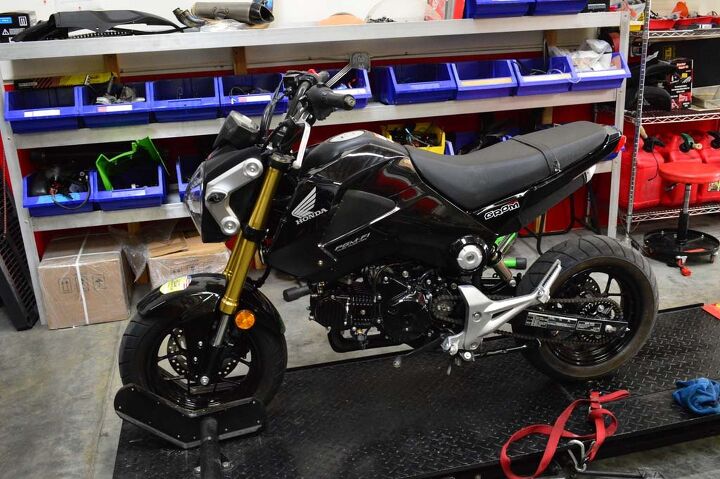
If you’ve been following Motorcycle.com lately, you’ll have noticed a recent Top 10 about Honda Grom modifications. The list, of course, was a teaser to a bigger event a few members of the MO team participated in: a 24-hour endurance race. We’ll get to that story in the coming weeks, but we’re getting ahead of ourselves here. Before we could ever race a Grom, we’d have to transform it from the little funster that it is in its stock condition into a dedicated kart-track destroyer.
When we delved into what kinds of items are available from the aftermarket, we were shocked to discover the breadth of what can be bought to transform the Grom into something much more serious. The Top 10 mentioned above listed the players who contributed to this project, but they are worth mentioning (and thanking!) again. Major kudos to Steady Garage, Blue Monkey Motorsports, Woodcraft Technologies, Spiegler, JRi shocks, K-Tech suspension, Lindemann Engineering and Brock’s Performance for the support and generosity they provided for this project.
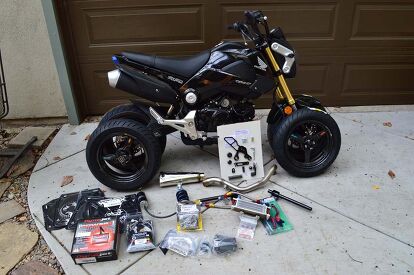
All told, these are the items we’re throwing onto our Grom:
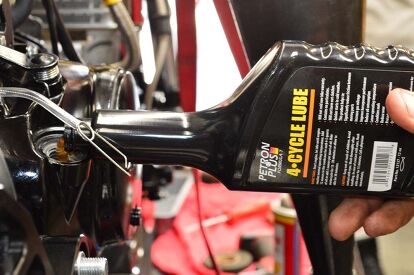
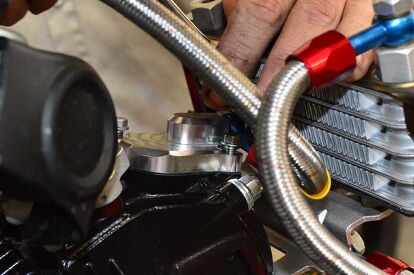
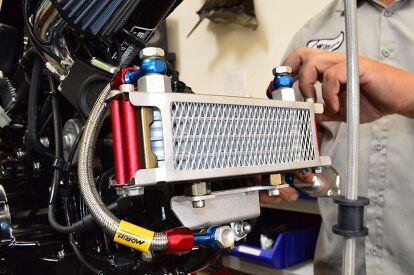
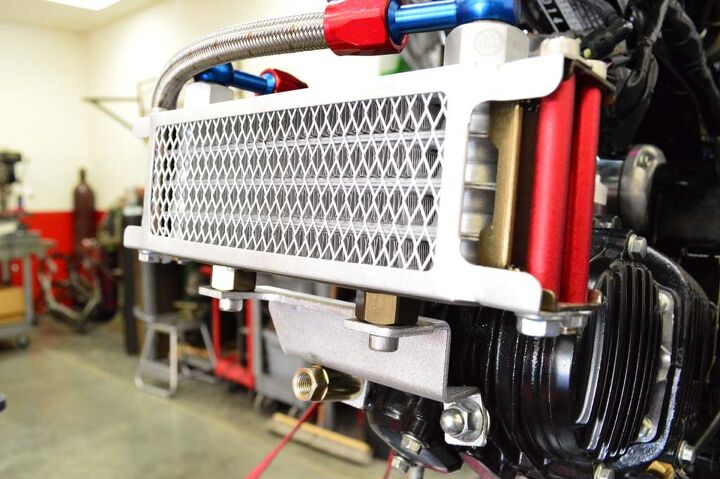
- Morin oil cooler
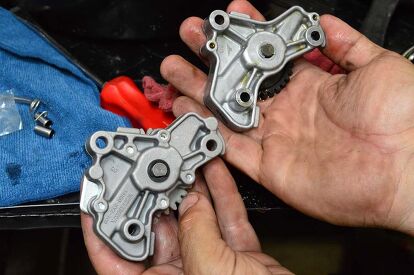
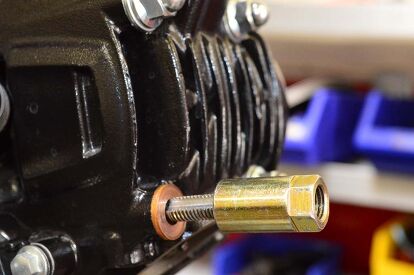
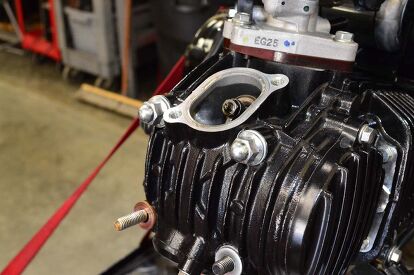
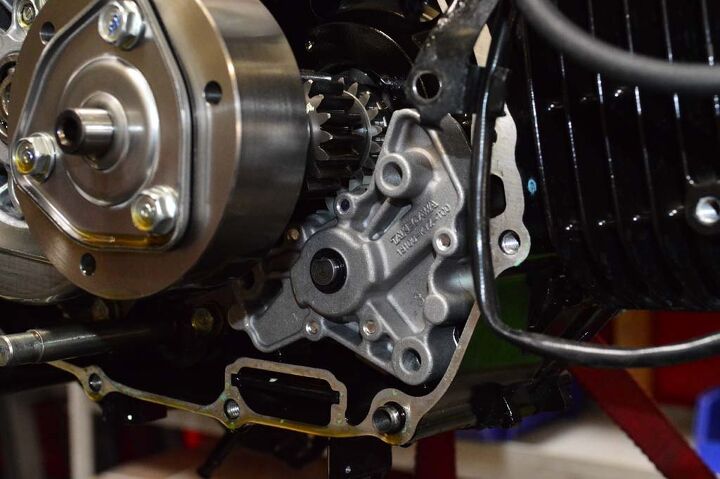
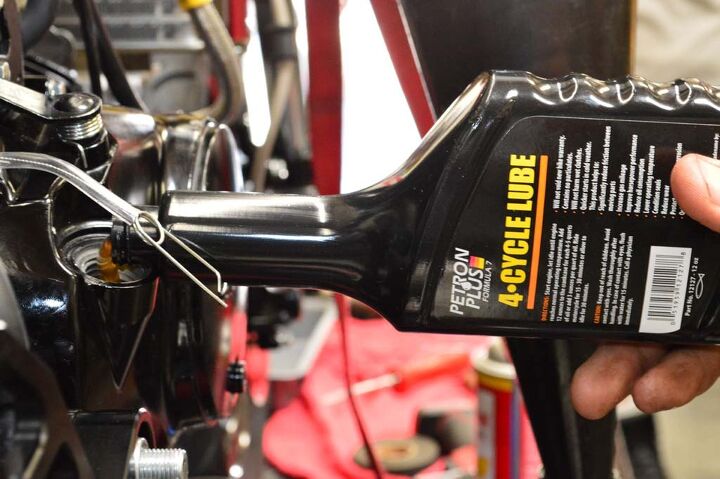
- Takegawa hi-flow oil pump
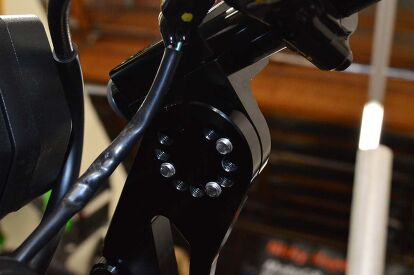
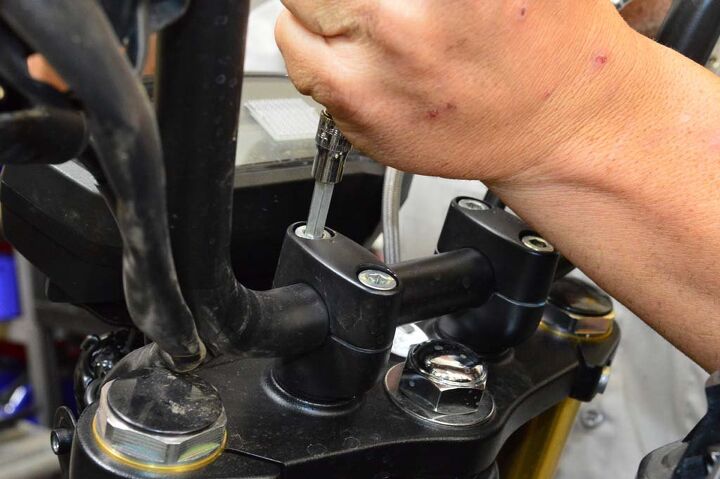
- CR Racing Dragster adjustable handlebars
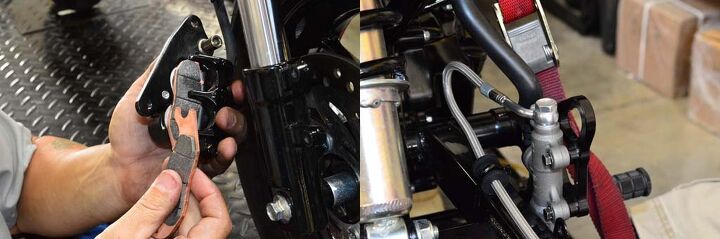
- Spiegler steel-braided brake lines
- Kuni levers
- SBS sintered brake pads
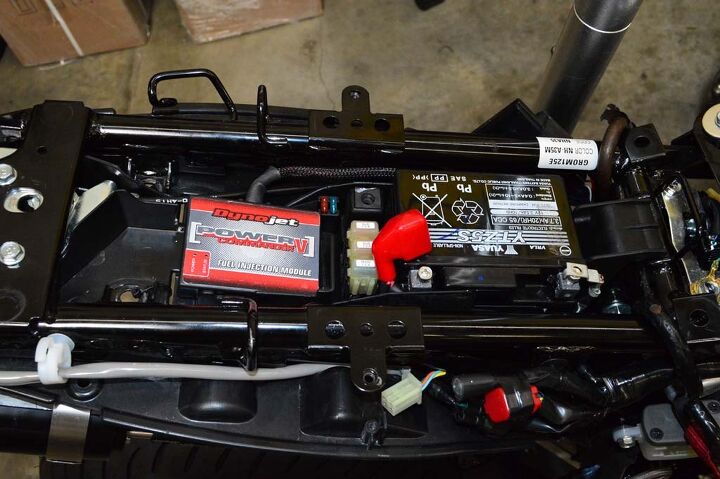
- Power Commander V
- Healtech Quick Shifter Easy
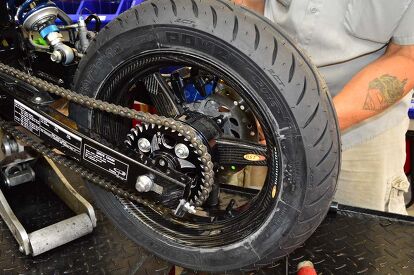
- Vortex 36-tooth rear sprocket
- Sunstar 14-tooth front sprocket
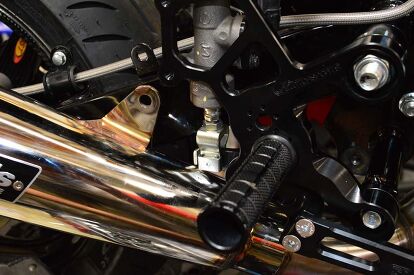
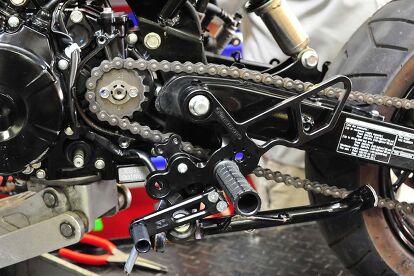
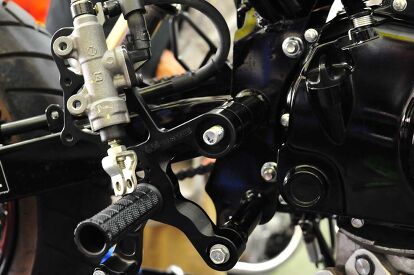
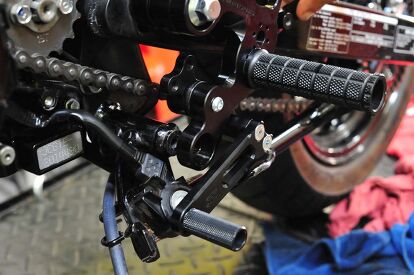
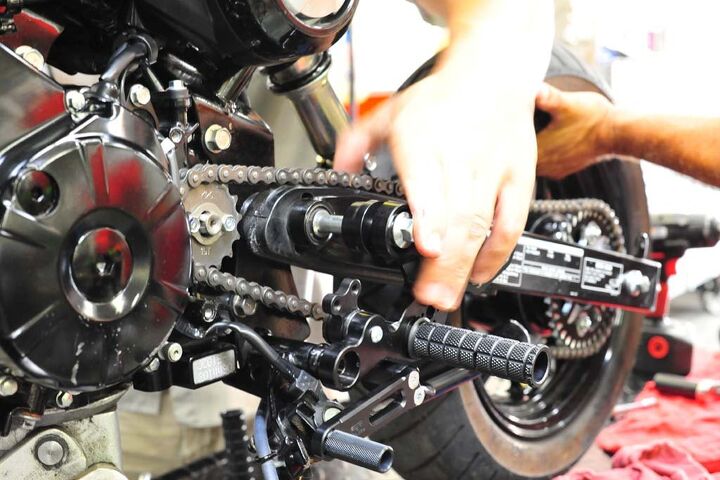
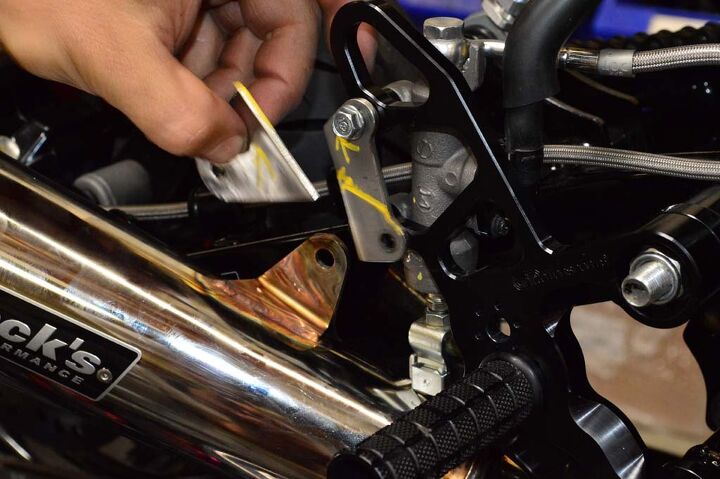
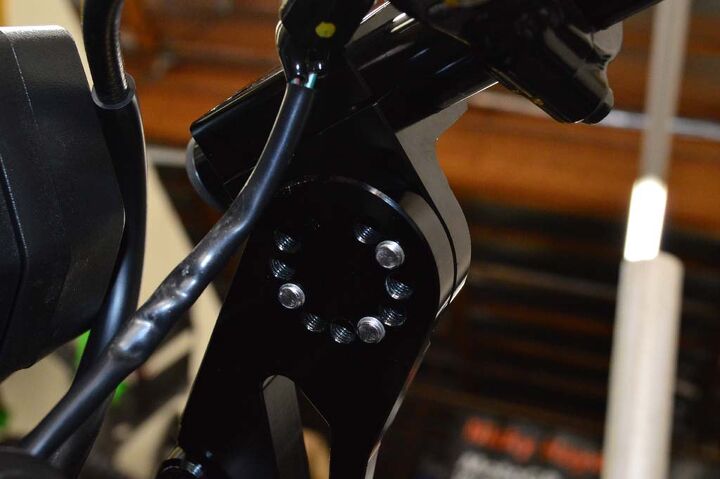
- Woodcraft rearsets
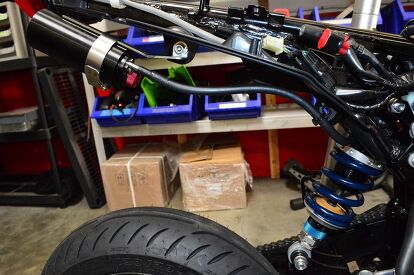
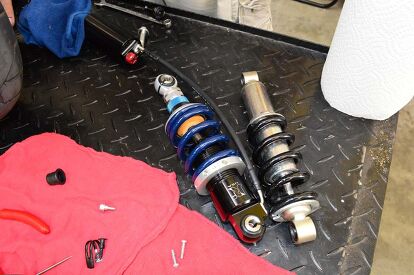
- JRi Universal Double Adjustable shock
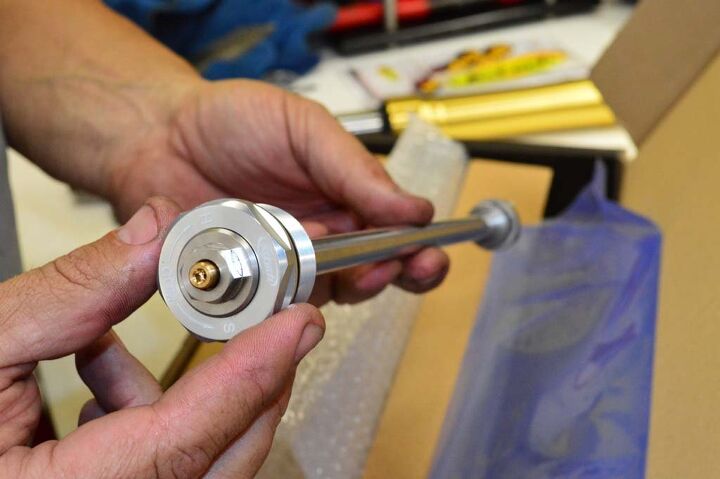
- K-Tech fully adjustable fork upgrade kit
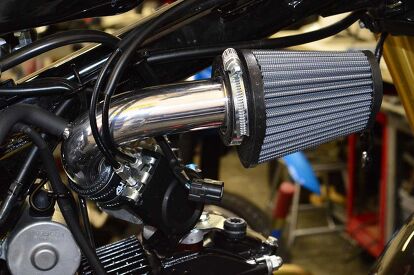
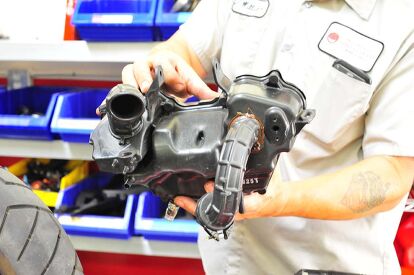
- Chimera air intake with Sprint Filter waterproof air filter
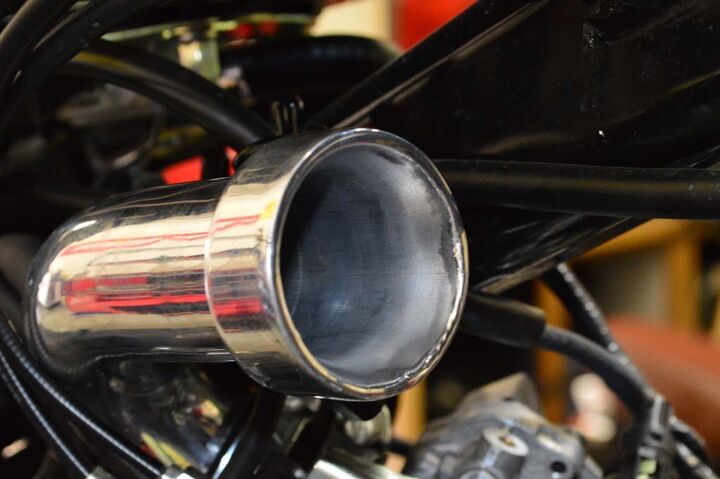
- Brock’s Performance Alien Head full exhaust
- BST carbon fiber wheels with Michelin Power Pure tires
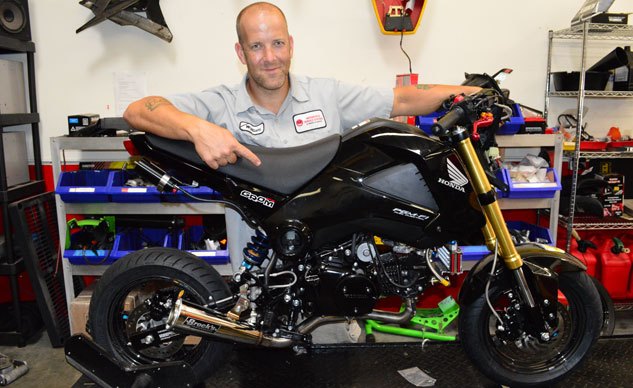
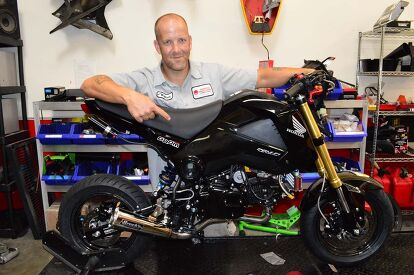
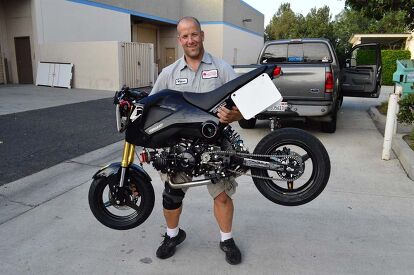
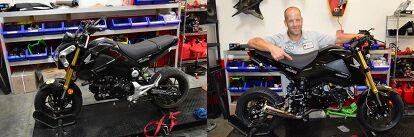
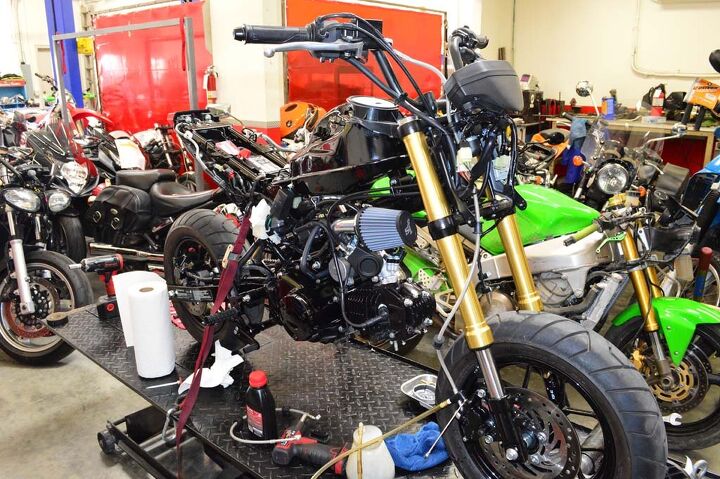
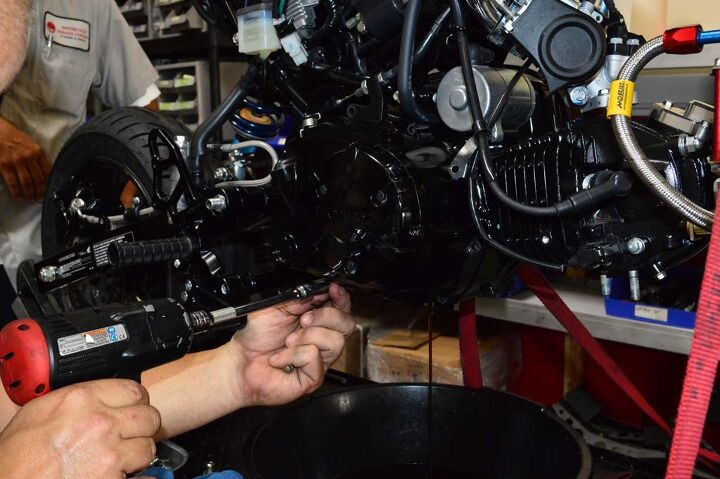
With less than a week to build our Grom into a racer, and nearly all of our staff resources dedicated to our nine-bike Ultimate Sports Adventure-Touring Shootout, there wasn’t much time for us to do the wrenching. For this, we were incredibly thankful Will Kenefick – proprietor of Motorcycle Service Centers LLC. in Camarillo, California – stepped up and offered to help transform the Grom on such short notice (meanwhile, I’d be taking pictures). Conveniently, Kenefick and MSC is also one of a handful of K-Tech authorized Service and Tuning centers in the country. Kenefick’s background in motorcycle tuning could fill the pages of MO, but a short history includes wrenching in World Superbike, as well as creating the motorcycles used in the Transformers movies. Click on the MSC link for a more detailed bio.
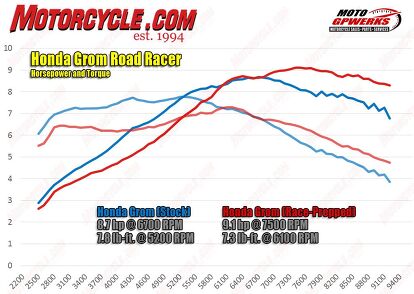
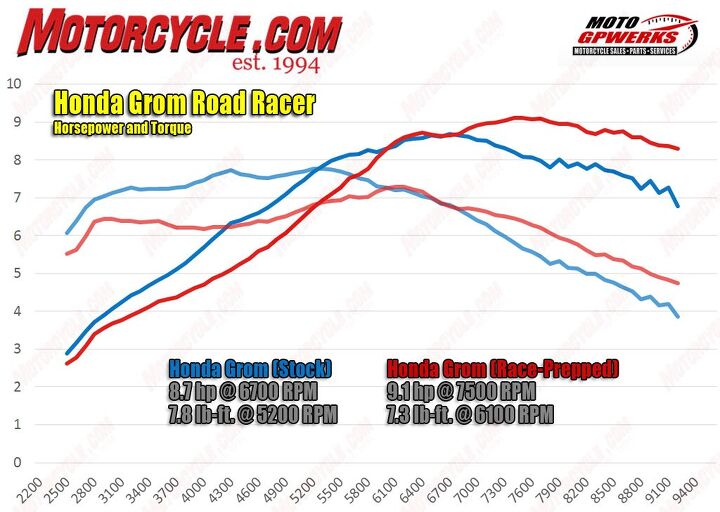
After all was said and done, our race-prepped Grom put down 9.1 horsepower and 7.3 lb-ft of torque on the MotoGP Werks dyno, versus the stock numbers of 8.7 hp and 7.8 lb-ft. That comes out to a 4.5% increase in power, but, interestingly, the torque number took a dive by 6%. Take a look at the dyno chart below and you’ll also see the stock Grom is noticeably more healthy in the midrange (after the race we tuned the engine again on the dyno, replacing the hi-flow oil pump with the stocker and playing with different mapping. Ultimately, we netted 9.9 hp and 7.6 lb-ft. So, more power, but slightly less torque than stock). This definitely came as a surprise to us, but with our new wet weight of 187 lbs, the whopping 38 lbs of stuff we shaved off the stock bike will help us overcome this deficit. This just goes to show that shiny new parts aren’t necessarily better than the stock components. But that’s where we are now, and since a picture is worth 1,000 words, our Grom build will be told in a pictorial to better take you along for the ride.
Diet Plan

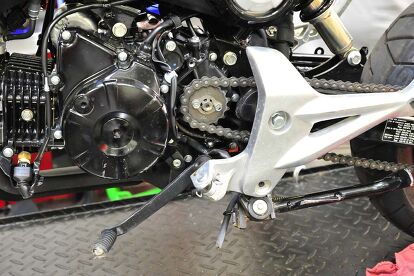
Rearsets


Shedding Weight, Adding Power

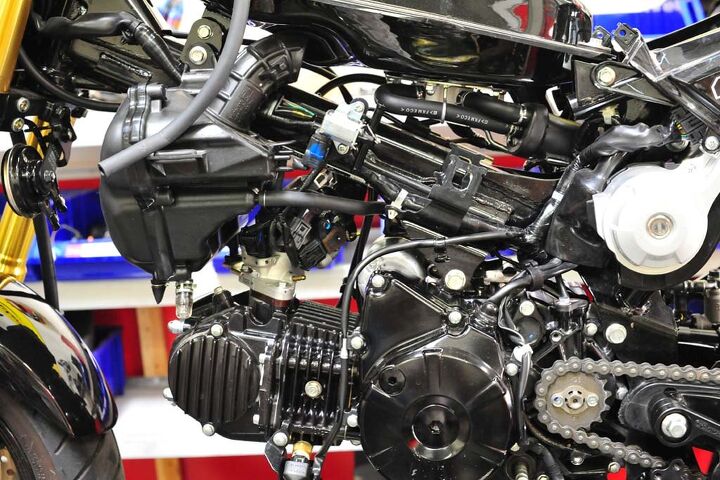


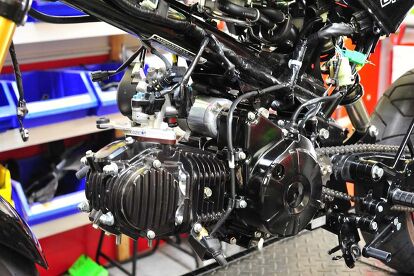
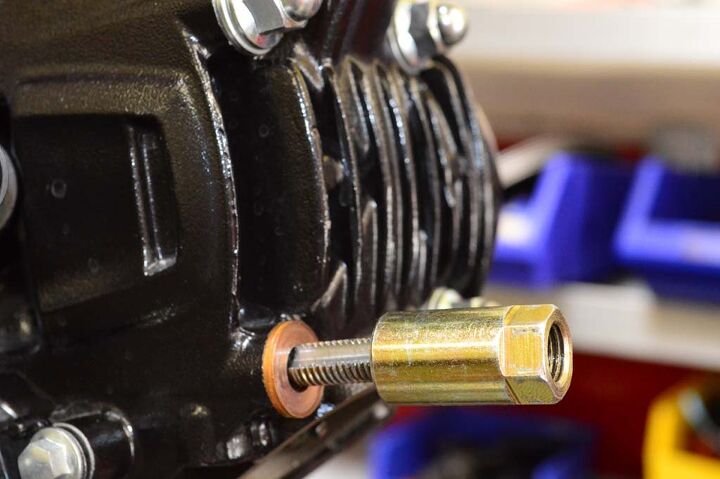
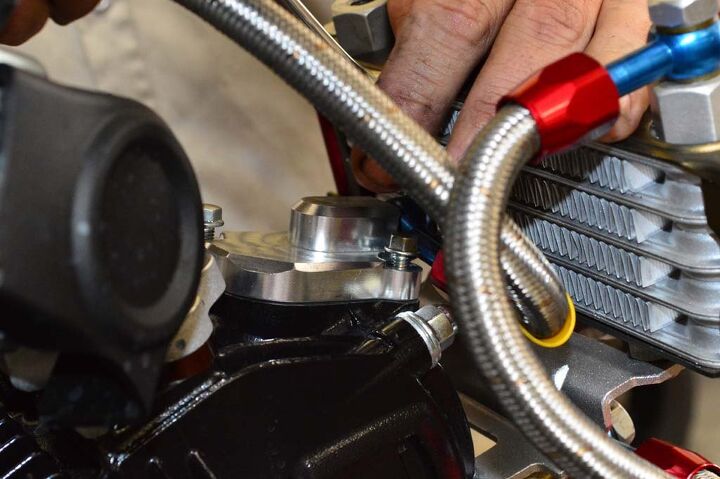
Morin Oil Cooler


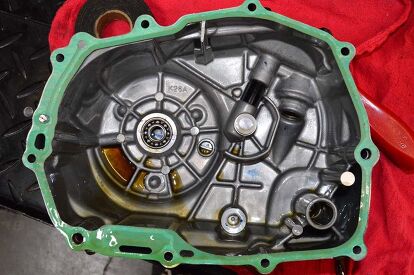
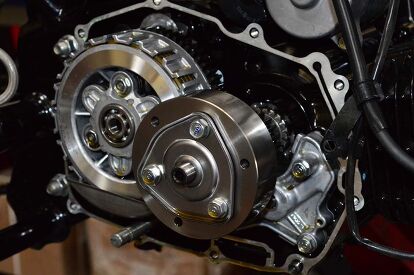
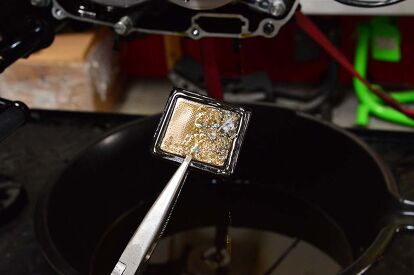
Takegawa Hi-Flow Oil Pump


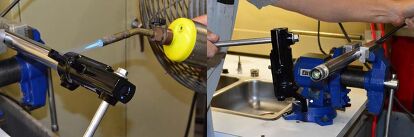
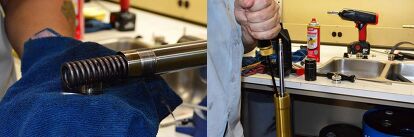
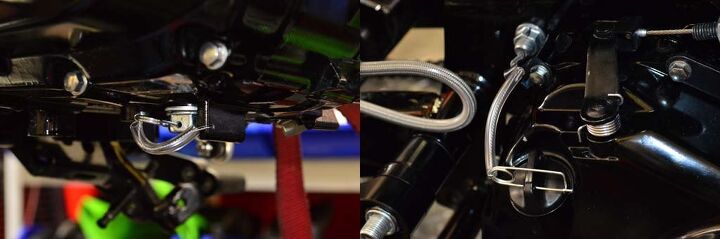
Suspension


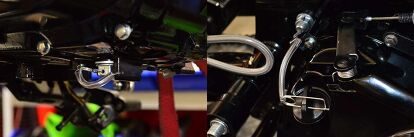
Other Odds and Ends


Troy's been riding motorcycles and writing about them since 2006, getting his start at Rider Magazine. From there, he moved to Sport Rider Magazine before finally landing at Motorcycle.com in 2011. A lifelong gearhead who didn't fully immerse himself in motorcycles until his teenage years, Troy's interests have always been in technology, performance, and going fast. Naturally, racing was the perfect avenue to combine all three. Troy has been racing nearly as long as he's been riding and has competed at the AMA national level. He's also won multiple club races throughout the country, culminating in a Utah Sport Bike Association championship in 2011. He has been invited as a guest instructor for the Yamaha Champions Riding School, and when he's not out riding, he's either wrenching on bikes or watching MotoGP.
More by Troy Siahaan


Comments
Join the conversation
I'll say this, it took some balls to stand in straight conflict with potential and existing sponsers. I look at the specs at Brock Performance and I look at your specs, why so much difference? What say Brock Performance and others?
Why did you swap back to the stock oil pump? Any thoughts on why you saw an increase in hp after doing so, or was it just more tuning that was the result of the increase in power?