


How To Change Oil In A Harley-Davidson


If you love your bike, change its oil on a regular basis. Period. If you ever have to question whether or not to change your oil, just err on the side of caution and do it.
I’ve heard plenty of people say that their bike leaks oil all the time so they are constantly adding oil and believe that it must be clean, right? No. While it is a common misconception, adding oil and never changing it all out at once is not the same as changing your oil. Think of it this way: If you had a tub without a drain, and you washed yourself in the same water every day without ever changing it; only adding water to it to keep it at a level high enough to wash in, the water would be very dirty by the end of a week, and eventually you wouldn’t even want to bathe in it at all. That’s what happens to a motor when the oil is never changed.
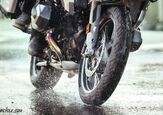
How To Chance Your Motorcycle Tires
One of the properties of good oil is its ability to trap and contain contaminants and particulate matter that develop in every internal combustion powerplant. Time, extensive heat, changing weather conditions, and a variety of other factors can degrade oil – and it never stops. I still abide by the traditional 3000 miles or every six months rule for changing oil, and I’ll do it even more often if my bike has been ridden hard for extended periods of time. The cleaner a motor’s oil is kept, the longer it will stay healthy and in good running condition.
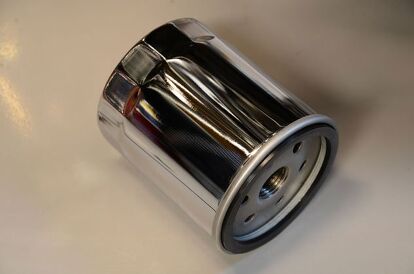
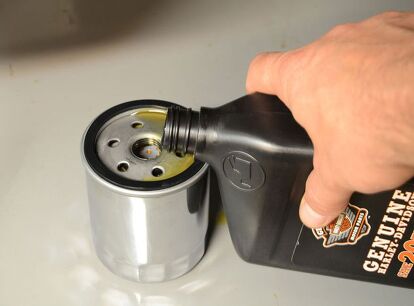
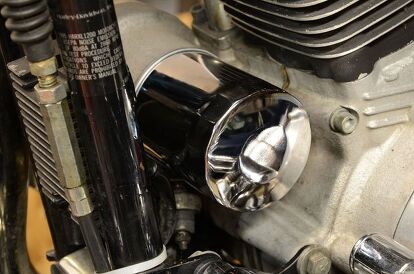
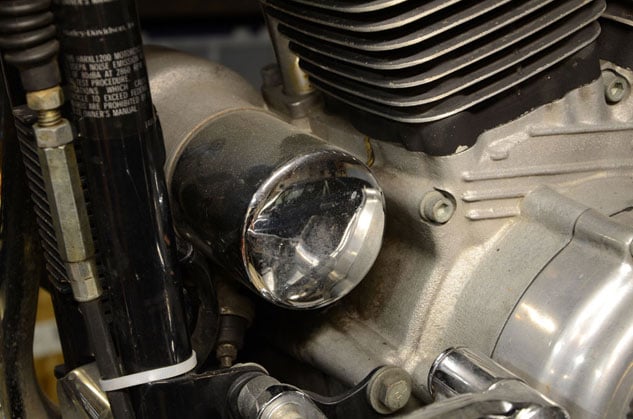
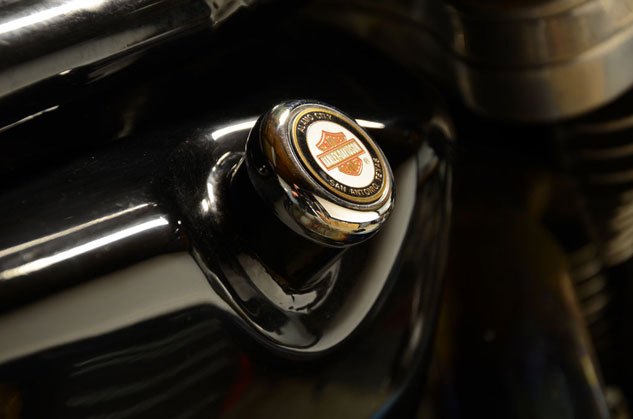
The filter needs to be changed whenever the oil is changed. The filter is like a washcloth in our bathtub analogy. Sure, you used soap and water to scrub with, but after awhile the washcloth gets dirty too. The same is true of an oil filter; it stops being effective when contaminants are trapped in its inner pleats. If a filter is allowed to get extremely dirty, it will stop working altogether – and allows oil to flow through a bypass valve (built into most modern filters
It requires extra horsepower to force oil through the bypass, which means the motor oil is no longer doing its job of trapping particles and protecting your motor. A clogged filter also creates parasitic drag which means your bike is running with a few less ponies- and nobody wants that.
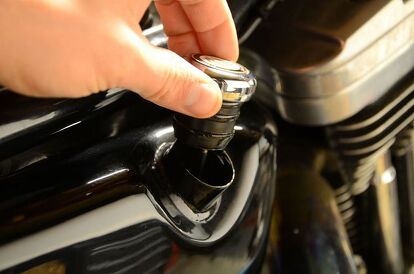
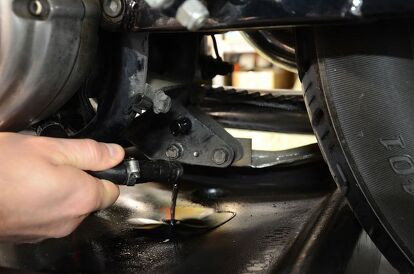
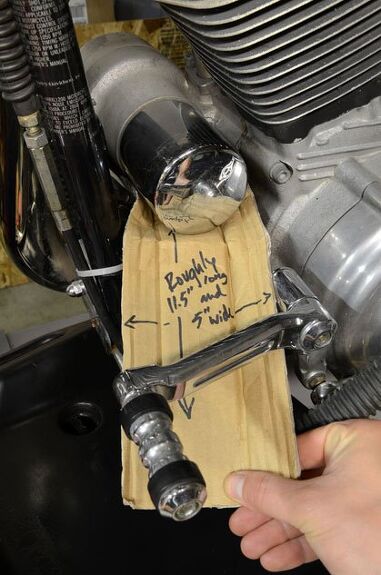
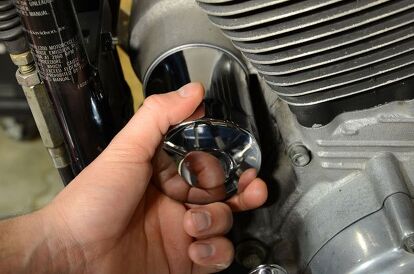
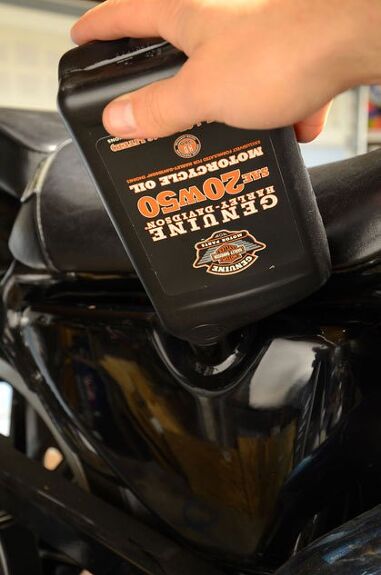
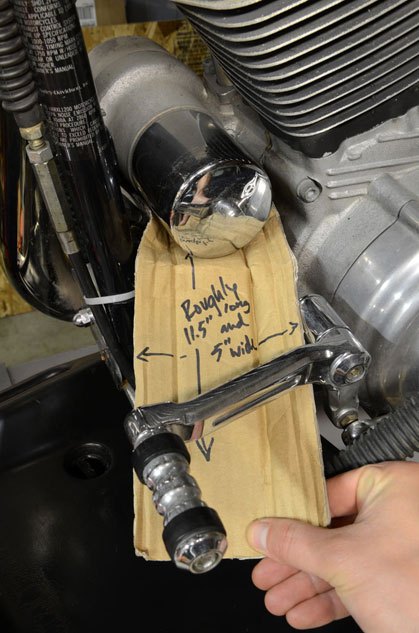
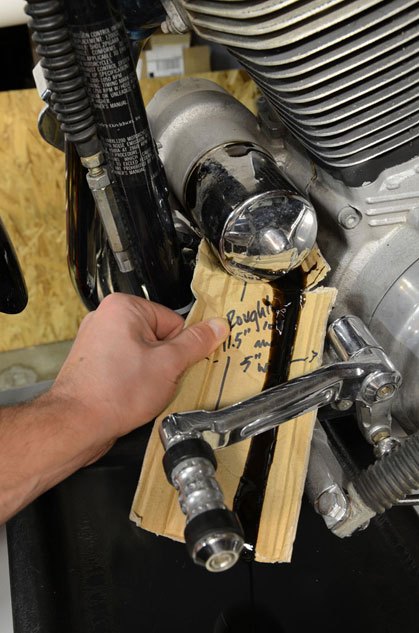
Changing the oil and filter for a Harley is a relatively easy procedure. All the aspects of the bike that are required to be tinkered with for the process are easily accessible and really only require a few simple hand tools: a screwdriver, filter wrench of some kind, drain pan, and possibly a funnel (if you don’t have a steady hand).If you acquire all the necessary fluids and filter before hand, it shouldn’t take a newbie more than a half hour to change the oil and filter, and that includes hand-washing afterwards.


More by Greg Friend


Comments
Join the conversation
if you run full synthetic oil you can almost double the service interval. Some discussion on that would have been helpful.
I wonder if any of the engineers at HD have ever considered another location for the filter. I mean seriously, thats just dumb.
can you change the oil & filter while bike is on kick stand?