


How to Change Your Own Oil
Yamalube has everything you need to get it done on your Yamaha.
If you’re a new rider, among the most satisfying experiences you can have is servicing your bike. That’s because, frankly, motorcycling is like a relationship, and the more you know about and can well care for your machine, the fuller and deeper the experience will be. How’s that for philosophical? Anyway, there are practical reasons for changing your own oil, too: 1) It saves money because you’re contributing the labor for free; 2) You are learning about tools, bolts and seals, parts and assemblies, and how everything works; 3) You are growing your self-sufficiency, which is always a good thing out there in the physical world; and 4) It’s all to perform an essential job right, and it will inspire you to tackle other maintenance items later on. (And someday, maybe even adding bike accessories or doing an entire build?)
Motorcycle.com thanks Yamaha for sponsoring this new rider series.
Why Do We Need Oil?
An important question about changing oil is: Why? And it’s a good one. Oil has several purposes in an engine, most critically including lubricating the many moving parts. These include steel, bronze or alloy bearings and the shafts that turn in them; the pistons and valves that reciprocate (travel up and down) to make power; camshafts and rocker arms or cam followers; clutch and gearbox components; and the heroic crankshaft that ties everything together. Without oil’s slippery, protective film, all these moving parts would be on a path to ruin in short order. So that’s why it’s essential. (Plus, oil helps cool the engine.)
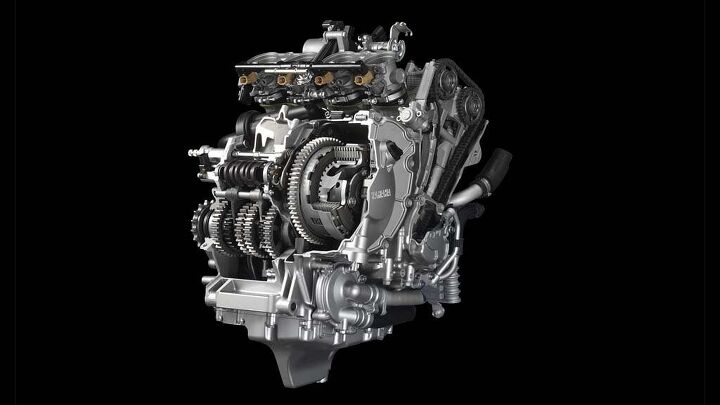
A gear-driven oil pump circulates engine oil to crucial engine parts through either precisely sized and located oil galleries (think of them as like water pipes in your house), oil jets or a native “splash” effect whenever the engine is running. And conveniently, the faster the engine turns, the more oil is distributed. Brilliant! And in another bit of engineering excellence, the oil captures and carries minute or microscopic wear particles safely to an oil filter, where it is contained until an oil and filter change is performed. Engines have been around for well over a century, and this is what works. And it works well. So, let’s celebrate.
When to Change Oil and Filter
This is the subject of debate among motorcyclists whenever shop talk or bench racing occurs. Consider five typical opinions below:
1. Change when the oil looks dirty – Yahoo! This is probably the standard for more riders than you’d imagine. “Hmmm, it’s riding season. So, when did I change this oil exactly; was it last year, or maybe the year before that? Well, it looks dirty now, so I’ll do it.” Sound familiar? If so, you’re in the club!
2. Change oil and filter before or after every riding season – Depending on the miles you put on your machine, this can be a totally defensible strategy. Critics will say change the oil and filter after each riding season, so dirty oil doesn’t remain in the machine during the off-season.
3. Change every 1,000 miles (or 2,000 miles, 3,000 miles; fill in your number here) – We operated for years (decades, truth be told) using this strategy with great success, and we believe the formula still has merit today. It’s an easy one to remember, too.
4. Change after every ride – We personally know some dirt riders, obsessive owners who service their bike’s oil and filter, air filter, chain, and maybe even suspension fluid after every ride. The same goes for track-day riders with their supersports. Today’s oils are so good – especially the premium high ester synthetics – that this is not universally considered essential. But like they say, it’s cheap insurance!
5. Change oil and filter by the book – that is, according to the miles or time/usage table found in the factory owner’s manual or shop manual for your model. Fair enough – the factory engineers are smart, have anticipated reasonable and typical use of the motorcycle in question, have tested the machines under high stress, and created service intervals that promote a long and reliable service life.
Now Let’s Get It Done
It seems like nowadays, every service and owners’ manual known to mankind is available in PDF form through a Google search, and every imaginable tutorial video is on YouTube (with some wonderful ones and others close to worthless). If you don’t have the correct factory manuals on the shelf, there’s potentially good help here to get you going on your oil and filter change.
Different years and models of bike will vary in their details somewhat, thanks to the different placement of oil drain plugs, location and style of oil filters, ground clearance under the machine, and even whether the machine has a center-stand, side-stand, both…or no stand whatsoever (think motocross bike). However, while the supplies, details and procedures will vary, some things are constant. Here’s a general primer for performing a successful oil and filter change on your bike.
A. Gather supplies, including:
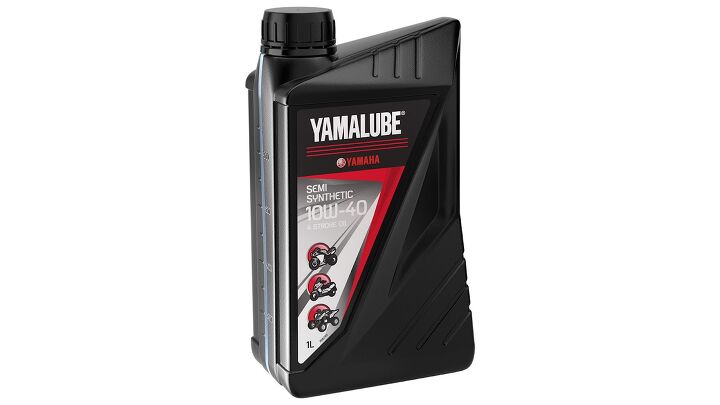
- The proper number of quarts of the correct oil for your motorcycle (see manual)
- The correct new oil filter for your motorcycle (see manual, service, or parts book)
- Replacement drain plug gasket (if required)
- Replacement oil filter cap O-ring (if required)
- Drain pan, sufficient to contain oil volume in crankcase and filter
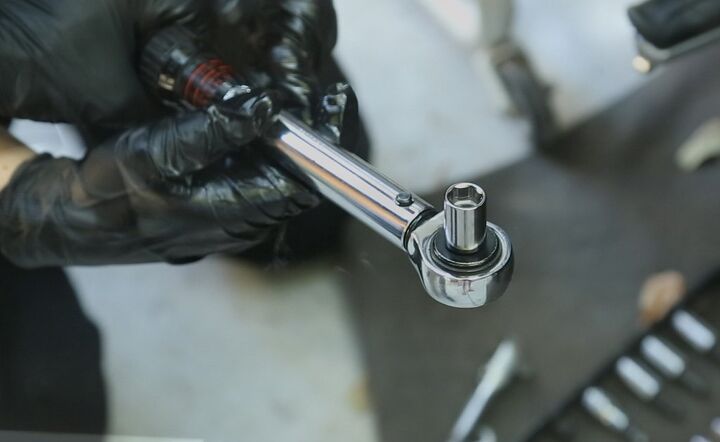
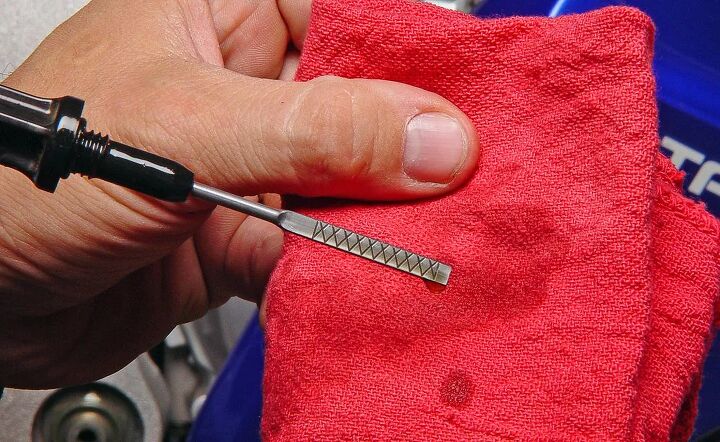
- Socket wrench to fit drain plug
- Strap wrench or socket wrench to fit oil filter or oil filter cap
- Torque wrench to replace drain plug and oil filter cap screws (if required)
- Cleaning supplies (paper towels, parts cleaner, etc.)
- Protective gloves
B. Warm engine for approximately 3-4 minutes
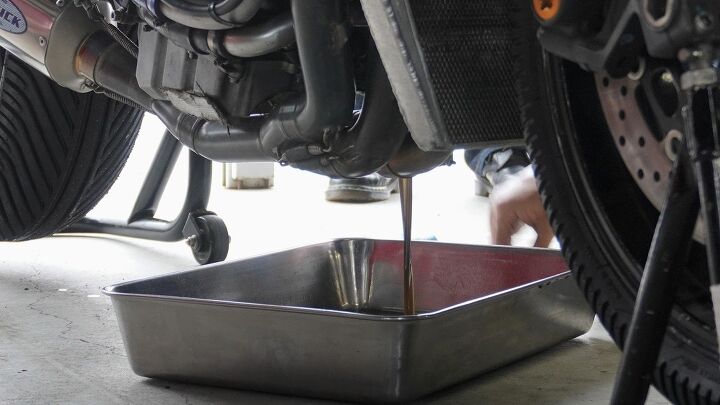
C. Change oil and filter
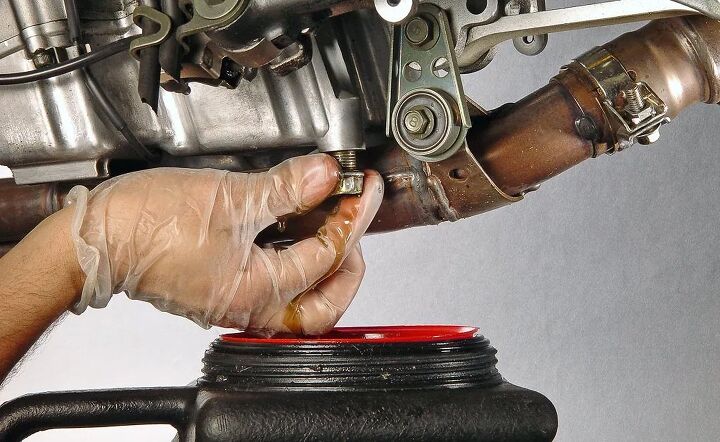
1. Loosen drain plug
2. Position drain pan under drain plug and remove plug (anticipate sudden spills!)
3. While oil is draining, loosen oil filter or oil filter cap bolts (if fitted)
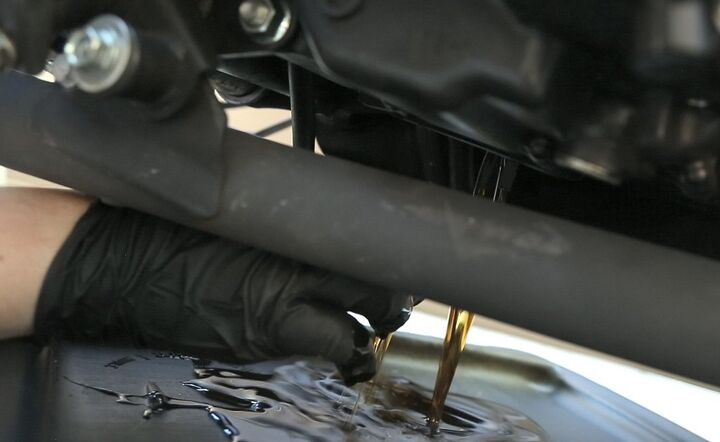
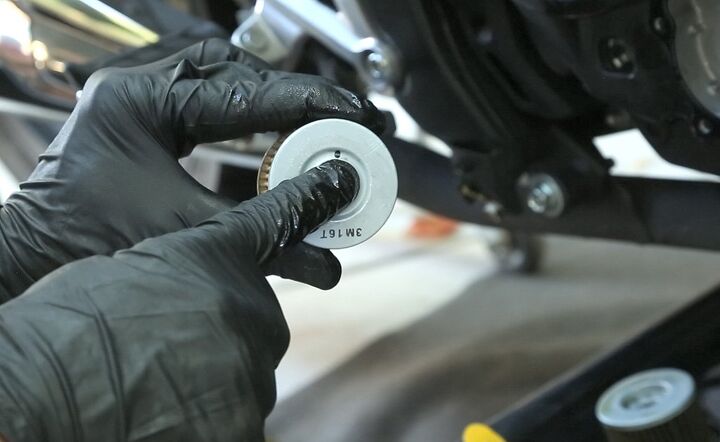
4. When oil drain is completed, remove oil filter
5. Clean drain plug and drain opening in crankcase with appropriate cleaner
6. Replace drain plug washer/gasket with new part
7. Install drain plug to correct torque specification (see manual)
8. Replace O-ring on oil filter cap (if required)
9. If possible, prefill new oil filter with fresh oil
10. Install new oil filter, or oil filter and cap, and torque to correct specification (see manual)
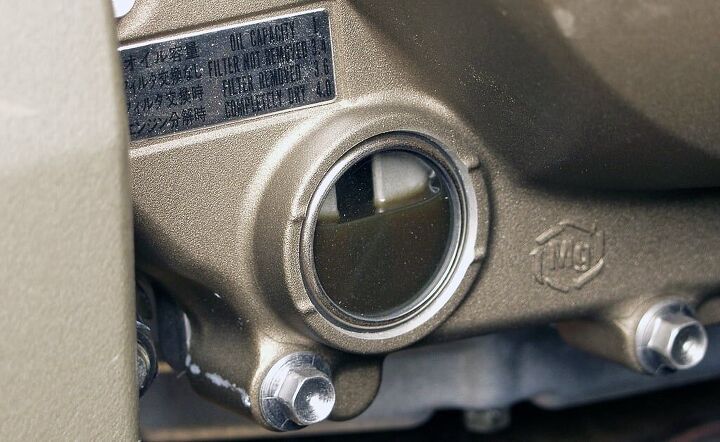
11. Refill crankcase with correct volume of fresh oil (see manual)
12. Start and idle engine for 1-2 minutes
13. Check for oil leaks at drain plug and filter and repair if necessary
14. Verify that oil level is correct
15. Record the date, mileage and/or engine hours (if possible) of oil and filter change, and file this info with your motorcycle records (and just maybe, mark your calendar for the anticipated next service)
16. Clean work area, replace tools, and recycle used oil and filter per local laws
You’ve Done It!
This may seem like a lot of steps for a simple oil and filter change, but most of them are quick, and once you’ve done the job a time or two the process will seem like nothing. Especially if you keep on hand the supplies you’ll need for next time. And once you’ve done all that, there’s only one thing left to do:
Go riding. Braaap!
Become a Motorcycle.com insider. Get the latest motorcycle news first by subscribing to our newsletter here.

John L. Stein brings 30 years of both automotive and motorcycle experience, having written for AutoWeek, Car and Driver, Motor Trend, Sports Car International, Chevy Outdoors, Truck Trend, Cycle World, Motorcyclist, Adventure Travel, and Men’s Journal, just to name a few. His articles have been published in the US, England, Japan, Australia and France. His technical knowledge combined with his ability to understand and effectively communicate what a motorcycle is doing underneath him is an invaluable resource to the Motorcycle.com team.
More by John L. Stein


Comments
Join the conversation
Hey, Mo.com, is this sponsored seemingly exclusively by Yamaha thing going to be an issue at some point?
People have aptitudes. The idea that anybody can be anything is false. People tend to follow their interests and aptitudes. If someone grew into an adult with no desire to learn how to work on their car or bike, they obviously don’t have the aptitude for it. Encouraging the mechanically clueless to do basic maintenance (or any maintenance) is a recipe for disaster as my example shows. I worked in high tech manufacturing for 45 years and was responsible for hiring and training maintenance techs. Some people have a technical mind and some don’t. Attempting to train the ones that don’t is a waste of time and , worse, creates hazards.