

Top 10 Ways To Make Your Bike Fit Better
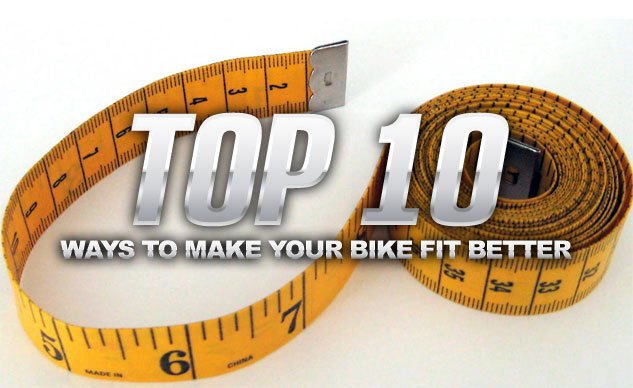
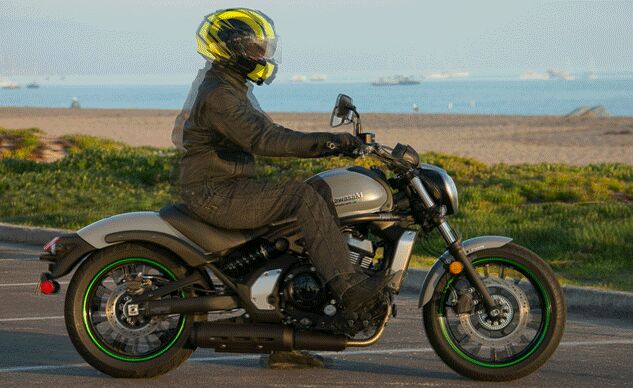
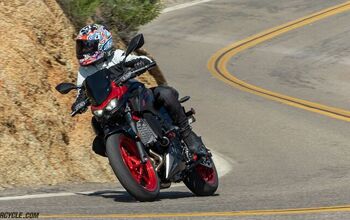
Every human body comes in its own unique shape and size, but all motorcycles of a particular model are exactly the same when they roll off the assembly line. Unless you’re remarkably lucky, some aspect of your motorcycle’s dimensions will be less than optimum to suit your body type and riding style. Fortunately, you can take steps to customize your motorcycle’s fit to your dimensions and the type of riding you do. While some of these suggestions require altering or replacing parts, many can radically alter your riding experience for the better with only basic tools and a little elbow grease. Take a look at the photo below to see how changing the handlebar-to-seat and the peg-to-seat dimensions can alter the angles – and the comfort – of the rider’s appendages.
10. Alter Seat Height
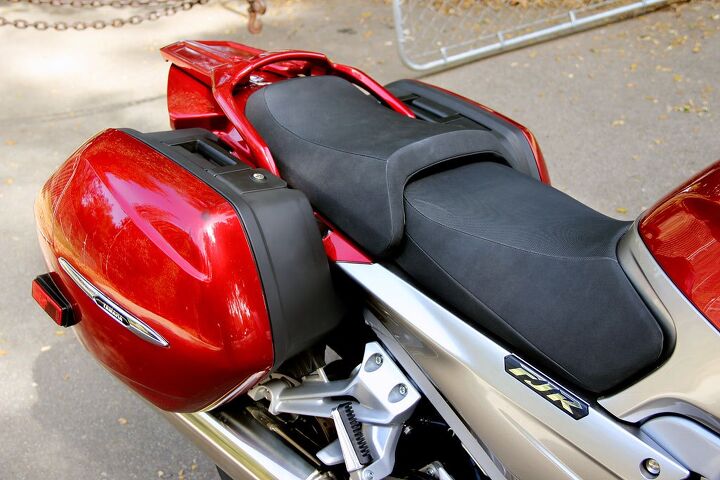
Some motorcycles come with height-adjustable seats and others, like the Vulcan S, offer factory options that change seat height and/or seat location. The reason behind these options is to give riders a more comfortable reach to the ground, pegs or handlebar. While shorter riders immediately come to mind, taller riders can benefit from altering seat height and shape, too. You can cut down or add on padding to the stock seat pan and take it to an upholsterer for recovering. Not surprisingly, the aftermarket has a wealth of off-the-rack or build-to-order seat options. You may even decide that you want to add that optional seat heater to make those cold weather commutes more comfortable.
9. Backrest
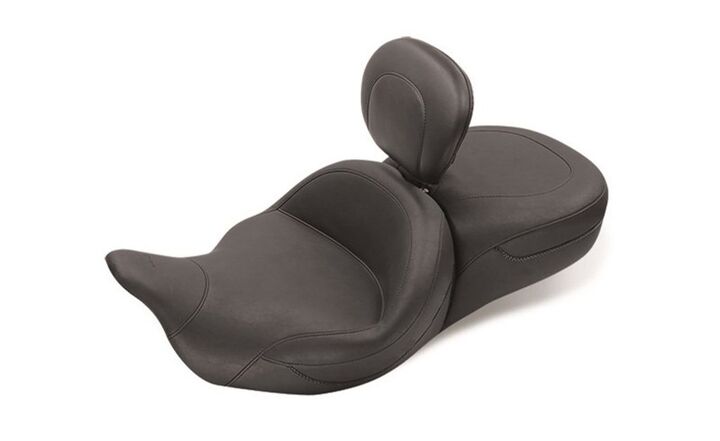
Passengers have enjoyed the comfort of a backrest on cruisers and touring bikes for years. If only the riders knew what they were missing! While a backrest is really only effective for bikes with an upright riding position, adding some lower back support can dramatically improve how you feel at the end of a long day in the saddle. A few OEM seats were designed with an accessory backrest in mind, but you’ll most likely need to take a trip to an aftermarket company, like Mustang Seats, for a new seat/backrest combination.
8. Different Handlebar Bend/Clip-on Angle
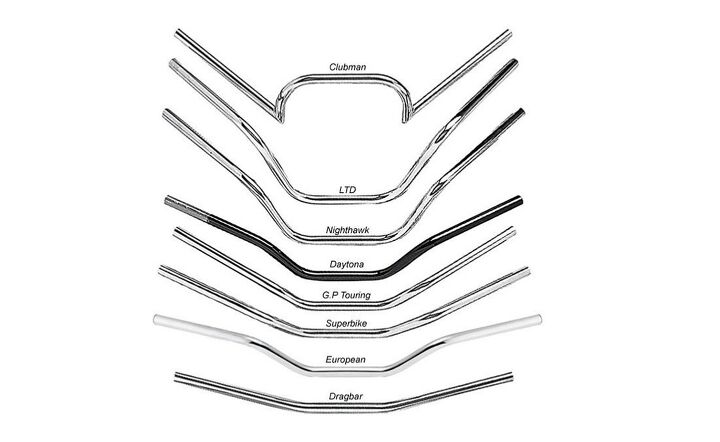
If your wrists get tired or sore on longer rides, you are probably a candidate for a new handlebar bend or a clip-on angle adjustment. Aside from getting a more comfortable hand position, you’ll probably find you have better control of your bike, too. Before you begin looking for an aftermarket handlebar, try rotating the stock bar in its clamps to see if you can get the desired change without spending any money. If you do decide to change the handlebar, the photo above shows just some of the options available from one manufacturer, Bikemaster. There are plenty of others. Remember that radical alterations will most likely require custom length brake lines and cables. The effort is worth it, but go into the project with your eyes open.
For bikes with clip-ons, you may be able to adjust them by loosening their pinch bolts and rotating the clamps on the fork. However, many OEM clip-ons also bolt to the triple clamp, so you may need to resort to the aftermarket. Like the cruisers, significantly changing your clip-ons may require new lines and cables.
7. Add Handlebar Riser
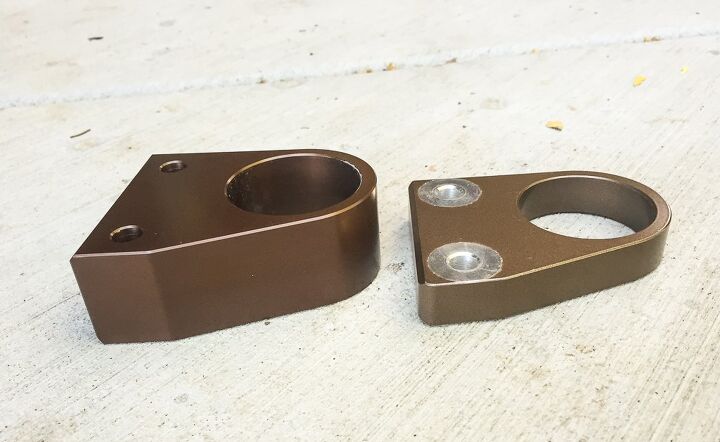
Grip angle isn’t the only part of the handlebar area that can be adjusted for better rider comfort. If you own a sportbike but spend most of your time commuting or sport-touring, you may want to raise the grips a bit to take some of the load off your arms and lower back. For clip-ons, this increase in height may come in the form of a riser. If that isn’t available for your bike, some aftermarket clip-ons are made with adjustable risers, giving you the ability to fine-tune not only the grip height, but also the angle. Bikes with handlebars can add risers of various shapes to increase the bar height and relocate it closer to the rider, if so desired. Some OEM risers can be flipped around to move the handlebar forward or rearward without a trip to the aftermarket. The Honda Interceptor risers are from MotoPumps (left) and Honda Accessories (right). Possible modification of lines and cable also applies here.
6. Taller/Shorter Windshield
Windshield height is a very personal thing. On cruisers or touring rigs, some riders prefer to look through the windshield while others simply must look over it. If you’re adventuresome, you can trim down a windshield that is too tall. Unfortunately, if you want to add height, you’ll need to visit the aftermarket or the OE’s accessory catalog. Since there are tons of different shapes and styles, this process is pretty fun, though. Sporty-bike riders usually look to aftermarket windshields as a means of tuning the height and intensity of turbulence on the open road. However, track riders may find screens that they can tuck behind more easily at top speed. And don’t forget the custom color options!
5. Adjust Suspension Settings
Why use the same stiff settings that are ideal for the increased cornering forces generated on the track when you’re riding down the freeway? Why would you toss the wife and a weekend’s worth of clothing on the back of your bike without adjusting the suspension? You’d be surprised how many people do. And it’s just plain crazy. If your bike has fully adjustable suspenders, front and rear, take the time to develop settings for the daily grind and for bomber runs through the canyons. (Don’t forget to write the settings down so that you can easily switch between them.) You’ll find your riding enjoyment increases in both environments. If your bike only has preload and rebound adjustments in the rear (or even just preload), you should still take the time to come up with settings that work best with the varying loads you carry. You will notice a difference.
4. Alter Footpeg Location
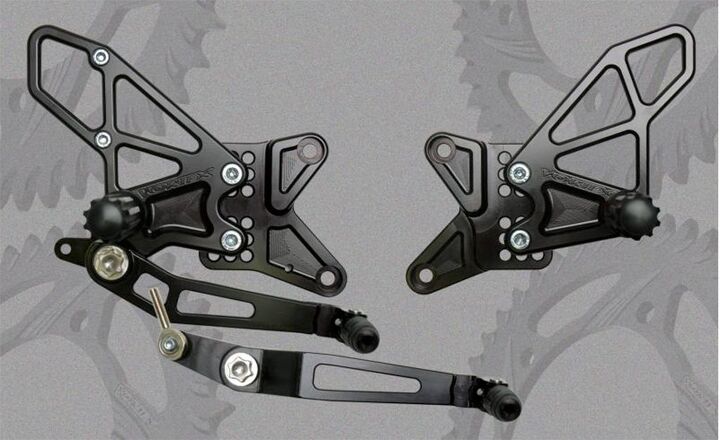
Before you change your peg location on your bike, spend some time thinking about what your goals are. Track riders are usually looking for a more aggressive riding position and possibly more ground clearance as evidenced by the Vortex R1 rearsets shown above. Street riders of sporting machinery may be looking to unkink their legs a bit. The offerings for cruiser riders usually are usually forward controls to give a more laid-back riding position. Having more rearward options for cruisers is a more unusual situation, as evidenced by the uniqueness of the option being available on the Kawasaki Vulcan S.
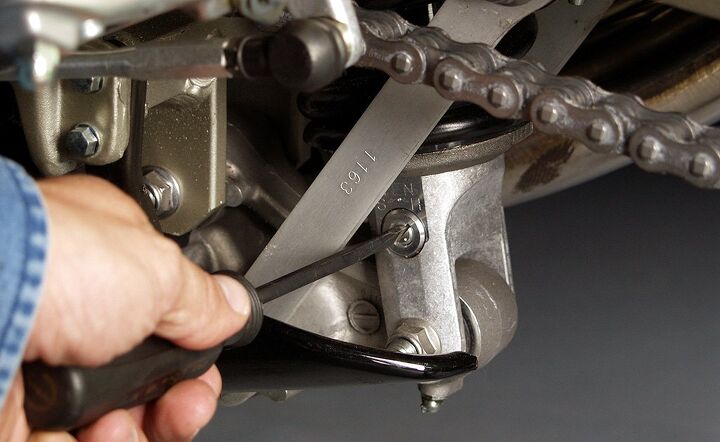
3. Adjust Brake Pedal/Shifter Height
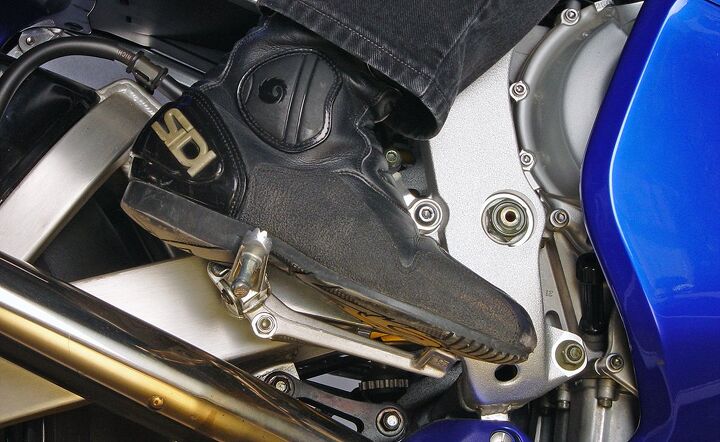
The height of your bike’s brake pedal and shifter can radically affect your ability to operate those controls effectively. Also, your comfort can be increased when covering the brake pedal. Your riding style or even the size of your feet may influence the optimum pedal position. The brake pedal needs to be low enough that you can cover it comfortably while you ride. If your ankle feels kinked after just a few minutes, try lowering the pedal. Hydraulic brakes usually allow the pedal to be adjusted on the master cylinder. Loosen the lock nut and turn the bolt to lower the pedal. Remember, you don’t want to adjust the pedal so low that it drags in corners. If you feel the pedal is already too low, making it difficult to modulate pressure effectively, you may find it easier with the pedal raised slightly higher.
Cruisers are another consideration. Improperly adjusted pedals can make operating the controls difficult with floorboards. If the shifter is too low, getting a toe under it to upshift is much more challenging. Additionally, forward controls with the brake pedal set too far forward can make applying the rear brake almost impossible without overly extending the right foot – which is hardly the recipe for control in a panic stop situation.
2. Adjust Brake/Clutch Lever Angle
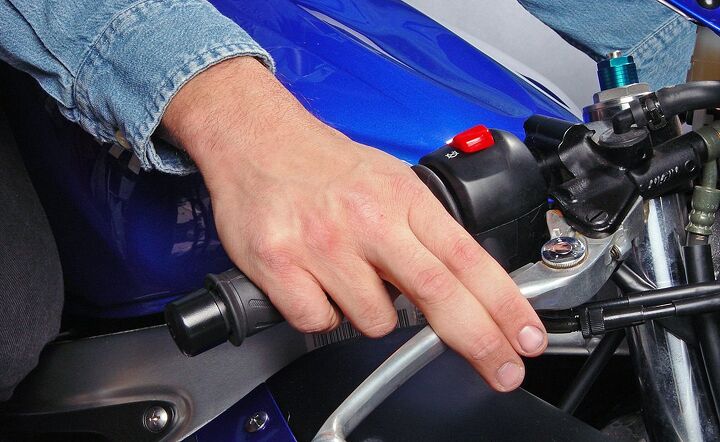
If you ride with a couple fingers covering the front brake lever – and you should – having the lever/master cylinder assembly rotated in the proper position to suit your dimensions can make riding much more comfortable and give you better control over simultaneous brake and throttle application. However, even those who don’t cover the brake at all times can benefit from proper brake lever position since it assures that the act of reaching for the brake also closes the throttle completely. Look at the your wrist position when you cover the lever. If your wrist is tilted back awkwardly, you’ll need to lower the lever. Loosen the two bolts on the master cylinder clamp and rotate the lever slightly down. Check your position again. Don’t go too far down or you’ll make it just as difficult to operate the brake as having the lever too high. The same applies to the clutch lever even though you don’t need to rotate the left wrist while operating the clutch.
1. Adjust Brake/Clutch Lever Distance
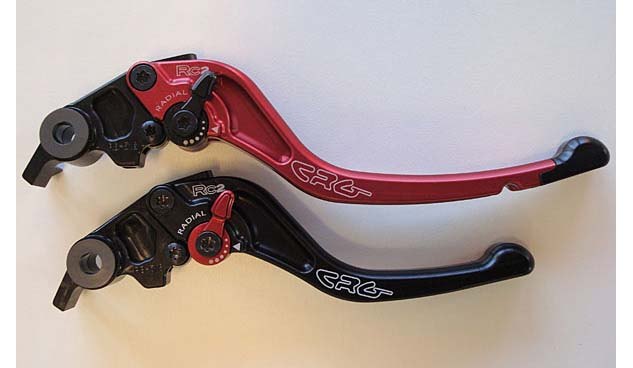
If you’re struggling to reach the levers, you can’t operate the controls with the finesse that makes riding safer and more enjoyable. The same can be said of levers that are too close to the grips for large-sized paws. Although many bikes come standard with adjustable levers, requiring only that you turn a dial until they are the right distance from the grip, not all motorcycles have this option. In this case, you could check to see if the adjustable levers from another model bike by the same manufacture will fit your bike, or you can take a trip to the aftermarket for levers like the CRG levers above. The nature of clutch operation – at least those operated by a cable – means that you may be able to alter the lever position via the cable adjuster. Try loosening the thumb screw lock nut where the cable enters the lever housing. Then simply screw in the adjuster, increasing the clutch lever’s freeplay and moving the lever closer to the grip. Be forewarned that excessive freeplay can keep the clutch plates from fully disengaging and contribute to premature clutch wear — not to mention clunky gear changes.

Like most of the best happenings in his life, Evans stumbled into his motojournalism career. While on his way to a planned life in academia, he applied for a job at a motorcycle magazine, thinking he’d get the opportunity to write some freelance articles. Instead, he was offered a full-time job in which he discovered he could actually get paid to ride other people’s motorcycles – and he’s never looked back. Over the 25 years he’s been in the motorcycle industry, Evans has written two books, 101 Sportbike Performance Projects and How to Modify Your Metric Cruiser, and has ridden just about every production motorcycle manufactured. Evans has a deep love of motorcycles and believes they are a force for good in the world.
More by Evans Brasfield


Comments
Join the conversation
"If you ride with a couple fingers covering the front brake lever – and you should..."
No no no you shouldn't. Why would you want two fingers to do the work of four in an emergency situation while crushing the other two still on the throttle and hindering the travel distance of the brake lever?
Windshield to tall or making to much noise? Figure out a way to tilt it back toward the rider. Less noise. Sore butt? The Air Hawk seat pad is the best.