


Straighten That Shimmy- Replacing Wheel Bearings
You pay attention to you motorcycle's crank bearings, rod bearings and maybe even the steering head bearings. But do you ever check the most important bearings on your bike, the wheel bearings?
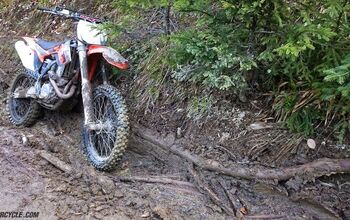
Most modern wheel bearings last a long time. However on high-mileage bikes, or dirt bikes that see a lot of mud and water, and bikes washed with high pressure hoses, the bearings can go out sooner than you think. In the case of our example, a well-used Beta trials bike, the front wheel bearings were completely shot after two years. The bearings were so worn that the wheel could flop around about a half-inch at the rim.
Wheel bearings have a tough life. They are precision made parts subject to large amounts of stress and need lubrication. Typically, they have to rely on a little grease added at the factory, maybe many years ago. When they run dry or start to rust, they will heat up, wear out of round and develop excess clearance.
Most bad bearings aren't immediately obvious, though they will get worse quickly if you ignore the first signs. Bad bearings can show up as a faint 'clunk.. clunk' noise as you push the bike into the garage, or a creaking as you drive. Or you can feel a grittiness in the bearings when you turn them by hand when the wheel is off for a tire change. Usually bad bearings will not turn as easily as good ones and will feel 'lumpy' as you turn them, instead of turning smoothly.
Most bikes use sealed caged ball bearings. The inner and outer races are replaced along with the balls as a unit, and the entire bearing unit is pressed into the hub. Some bikes, most notably BMWs, use tapered roller bearings. These may or may not be replaced as a unit, and often need a fairly specific amount of preload built in when they are fitted into the wheel. Since they're more complex and rarer, we'll ignore the tapered roller bearings and cover the more common caged ball bearings.
Ball wheel bearings are usually a press-fit into the hub with a slight interference fit between the hub and the outer race. To remove them you may need to heat up the hub. While you can drive out the old bearings without heat if you use enough force, heating the hub to expand it makes bearing removal easier and causes less damage to the seating surface in the hub. Beware that too much heat may cause wire spokes to loosen. A propane torch or industrial heat gun (basically a huge 5000 watt blow-drier) works well to heat up steel or aluminum hubs. Oxy-acytlene torches produce too much heat for aluminum hubs, and way too much heat for magnesium hubs. Magnesium hubs should be stamped "magnesium" in a prominent place. Be careful about heating magnesium hubs as magnesium is flammable if you get it hot enough. A rag soaked in boiling water is the best method to heat mag hubs.
More by Eric Murray


Comments
Join the conversation