


Adjusting Motorcycle Suspension


Comprehending how suspension works has been described as a black art, but the basic principles are actually fairly easy to understand. Yet an astonishingly small percentage of riders ever touch any of the knobs, screws, valves or nuts that adjust the suspension of their motorcycles.
If that applies to you, and you feel too intimidated to start fettling your suspension, here’s a primer on how motorcycle suspension works and what you can do to optimize your machine for your size and riding style.
Note: Some motorcycles have very limited options for suspension adjustments, while sportier and higher-priced bikes often have fully adjustable suspenders. When adjusting your suspension, be sure to write down and/or track your current settings and each change you make after. That way, you can always revert to previous settings if a change doesn’t work to your liking.
Springs
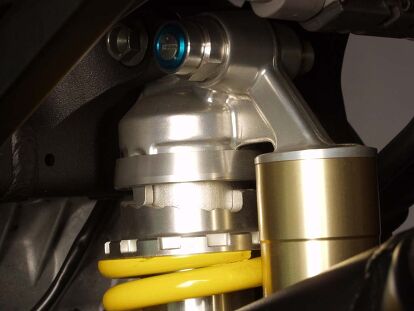
Elementally, springs do little more than hold up the weight of a motorcycle and help push the tire back against the ground after a bump has compressed the suspension. They are almost always coil-types constructed from metal that either wraps around a shock body or sit inside a fork tube. Air (which is compressible) can also be used as a spring or as a spring assist, as is the case for some cruiser shocks and a few motocross forks.
“Springs are pretty simple-minded,” Motorcycle.com’s own Evans Brasfield noted in his book 101 Sportbike Performance Projects. “The harder you push on them; the harder they push back.” Brasfield’s book covers wrenching on your sportbike with how-to projects ranging from basic maintenance to advanced modifications. Here’s MO’s review of Evans’ book from waaaay before he was hired at MO.
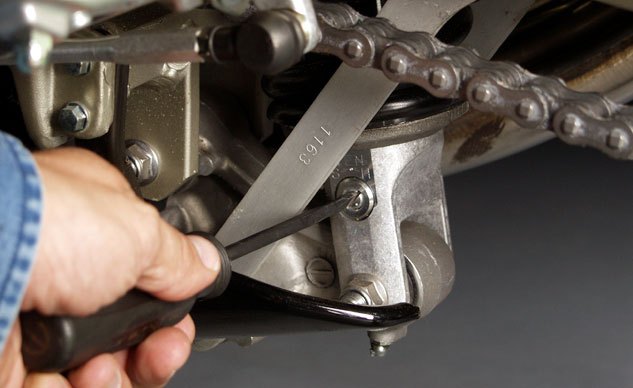
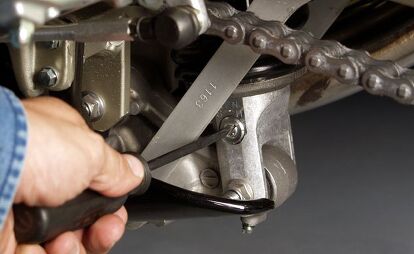
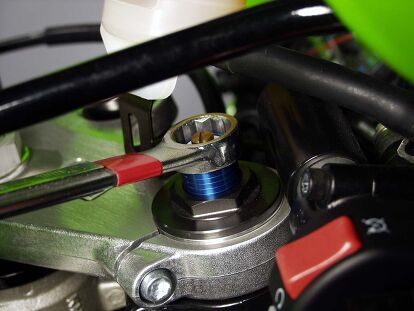
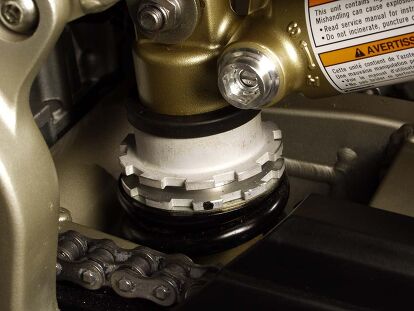
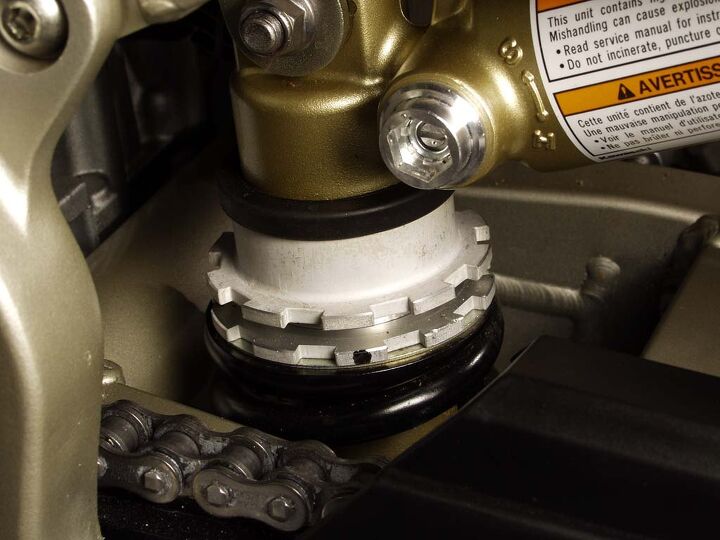
A spring can, of course, be built stiffer or softer, which is described as a spring rate. Springs can also be made stiffer or softer based on the amount of force applied to the spring via a preload adjuster – this is the most basic of suspension adjustments, and almost every motorcycle has this provision on its rear suspension. Heavier riders will need to add preload (by compressing the spring), while lighter-than average riders would likely benefit from a reduction in preload. Don’t neglect to refer to the recommendations in your bike’s owner’s manual.
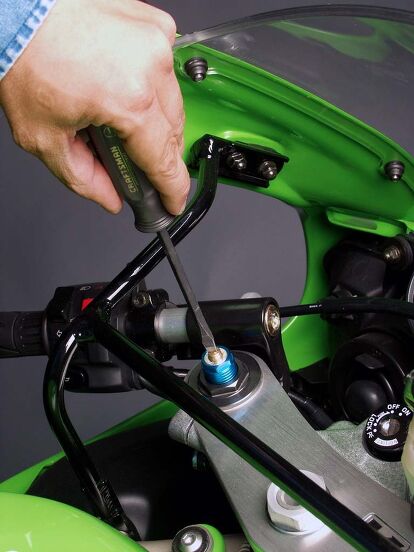
If the tool kit in your bike doesn’t have a wrench to adjust preload, you could source one from the aftermarket, such as this stainless steel shock spanner from CruzTools.

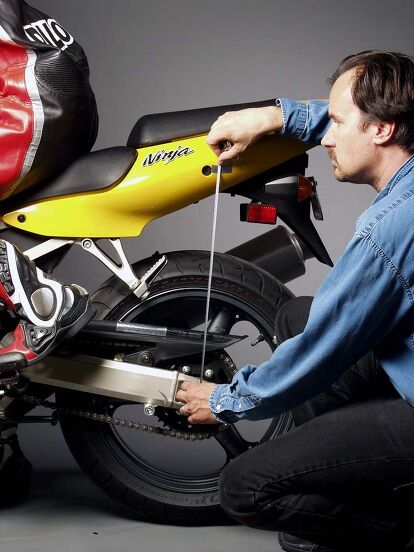
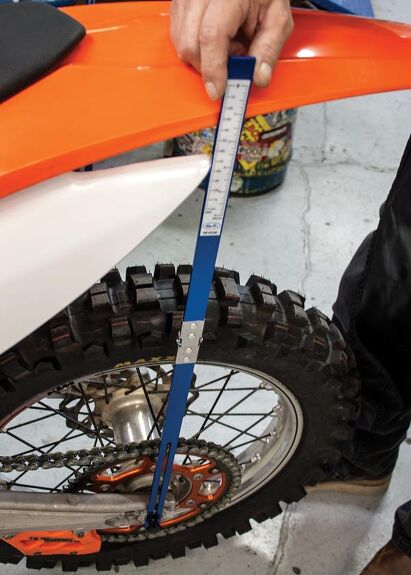
No matter what adjustments are available on your suspension, properly setting up spring preload always – always – should be your first step. How do you know exactly how much preload is the correct amount? That’s where “sag” comes into the equation, and there are two types to note.
Static (or free) sag: the distance a suspension compresses under the weight of the motorcycle at rest.
Rider sag: the distance a suspension compresses under the weight of a rider.
The clever folks at Motion Pro do a nice job of explaining how to measure sag in this article. Dialing in the proper amount of sag is fairly simple for riders of average sizes. Bodies at the extreme ends of the weight curve may need to invest in aftermarket springs.
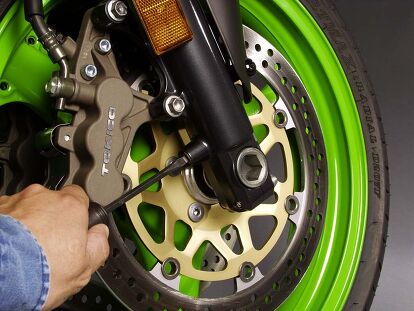
Less common are motorcycles with preload adjusters on the front suspension, especially with bikes that are either inexpensive or aren’t designed for performance, such as cruisers. Inserting cut sections of PVC tubing into fork legs is a do-it-yourself work-around to increase preload, but a simpler solution is to fit aftermarket fork caps like these from Roland Sands Design.
New Product: Burly Preload Adjusters
Rider weights can range enormously, so it’s easy to see how one stock spring rate cannot adequately cope with all riders through preload adjustments alone. If you are heavier than 200 pounds, the best solution is often a trip to the aftermarket for higher-rate springs.
Damping
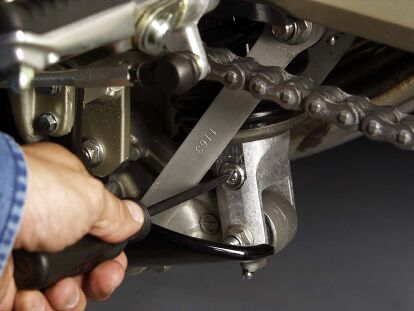
Damping is the process by which suspension movement is controlled. As a wheel hits a bump, compression damping circuits control the rate of suspension travel as oil moves through valves. Then, when a suspension hit loses its energy, the spring wants to push back and extend its stroke. This is when rebound damping, a.k.a. extension damping, is operating.
After your spring preload is set, adjusting damping will fine-tune your setup. Whether on a fork or a shock, turning a screw clockwise restricts the passage of oil to slow movement through its travel – either in compression or extension (sometimes referred to as tension). Backing off a damping adjuster allows more travel to be used up for a smoother ride at the expense of some control.
The speed of suspension extension is a fraction of the velocity inflicted when hitting a sharp-edged bump, so getting a rebound damping setting in the ballpark can often be found without even rolling your bike’s wheels. Observe the speed at which the suspension extends after a forceful shove downward on the handlebars or rear seat. Use additional rebound damping if either end of your bike’s suspension bounces upward too quickly. Reduce rebound damping if the suspension extends lethargically.
Note: An excessive amount of rebound damping can feel like too much compression damping because there isn’t enough time to rebound between bumps, leading to the suspension “packing down” into its travel.

Compression damping, in its simplest form, determines the level of firmness sensed through the suspension as it reacts when traveling over bumps. Back off compression damping if bumps punish your wrists and/or butt. Add some comp damping if your bike feels especially pitch sensitive or if an aggressive riding style demands firmer control.
The suspension description given here just scratches the surface of how a suspension works. If this has only whetted your appetite for suspension knowledge, there are a few books available with more comprehensive explorations. One of the best is written by one of our favorite motojournalist tech-heads, Andrew Trevitt. His Sportbike Suspension Tuning book can be ordered on Amazon for less than $20.
If you’ve come along this far and still don’t have answers to all your suspension questions or you need to talk with the pros in the aftermarket, make sure you check out the variety of options we put together in our Suspension Buyer’s Guide.
More by Kevin Duke


Comments
Join the conversation
Good article. Setting the Sag is the easy part, but rebound and compression requires some test rides, patience and small hands
$42 for a tape measure?